Showing posts with label TWD. Show all posts

Tuesday, September 9, 2008

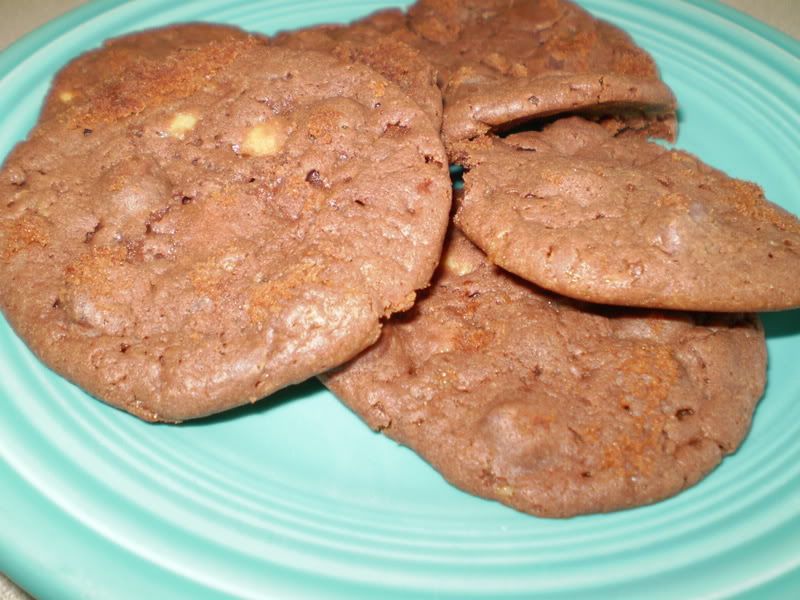
TWD: Chocolate Malted Whopper Drops


This week's Tuesdays with Dorie recipe was selected by Rachel of Confessions of a Tangerine Tart. You can find the full recipe for these delicious cookies on Rachel's blog here.

All I have to say about this recipe is mmmmmm mmmmm mmm mmmmmm mmm!!! These cookies were sooo good I made them twice in one week. My husband absolutely loved them and after the first batch was gone from both of us devouring several and taking some to work, he asked me if I would make a second batch a few days later. We both took more to work, but kept a nice little container full of cookies at home to enjoy this week as well.

Several TWD'ers said they used vanilla or plain malted milk powder for this recipe. When I was reading the recipe and it suggested using Ovaltine malted milk, I just assumed it meant the chocolate flavor as that is all I am familiar with anyway. These were super chocolately cookies, but that just made them better in my opinion.
And as many other TWD'ers reported, the Whoppers sort of melt and carmelize when baked if they are too small. I used a food processor to chop the Whoppers, which really just pulverized most of them, but I made sure during the second batch to leave some just chopped in half so there would be a little more of a crunch to the cookie. I also baked the second batch a little longer, about 14 minutes total, and it helped them to hold up better but remain moist and chewy.

I've been part of TWD for a few months now and have made several recipes. The chocolate pudding I think is still my favorite recipe to date, but these cookies are a very close second. They are super delicious and will definitely become one of my favorite go-to cookie recipes.

Tuesday, September 2, 2008

TWD: Chunky Peanut Butter and Oatmeal Chocolate Chipsters


This week's TWD, Chunky Peanut Butter and Oatmeal Chocolate Chipsters, was selected by Stefany of Proceed with Caution. You can find the full recipe by clicking the link to Stefany's blog.

This is the TWD recipe I have been waiting for! A chocolatey, yummy, mmm mmm good cookie!! I love oatmeal cookies. I love peanut butter cookies. I LOVE chocolate cookies. Combine them all together and you have the most.perfect.cookie.ever!

This recipe came together very easily and most of the ingredients are things that everyone has on hand in the pantry on a regular basis as is, so it's a great recipe to just throw together at the last minute. The recipe suggests to let the batter chill in the fridge for about 2 hours before baking, however, I found it easier to just make the cookies right after mixing the batter together. I always use a small ice cream scooper to form my cookies so that they are all uniform in size and bake evenly. I also always bake my cookies on parchment paper and they come out perfectly everytime.

This will definitely become one of my go to cookie recipes. The combination of flavors is wonderful. I thought the cinnamon would be weird with the peanut butter and chocolate, but it had a great flavor and was just enough to be noticable without overpowering.

Another winning Dorie recipe! I can't wait to make everything from Dorie's book. So far, everything has een great. Better than great really, absolutely devine!

Wednesday, August 13, 2008

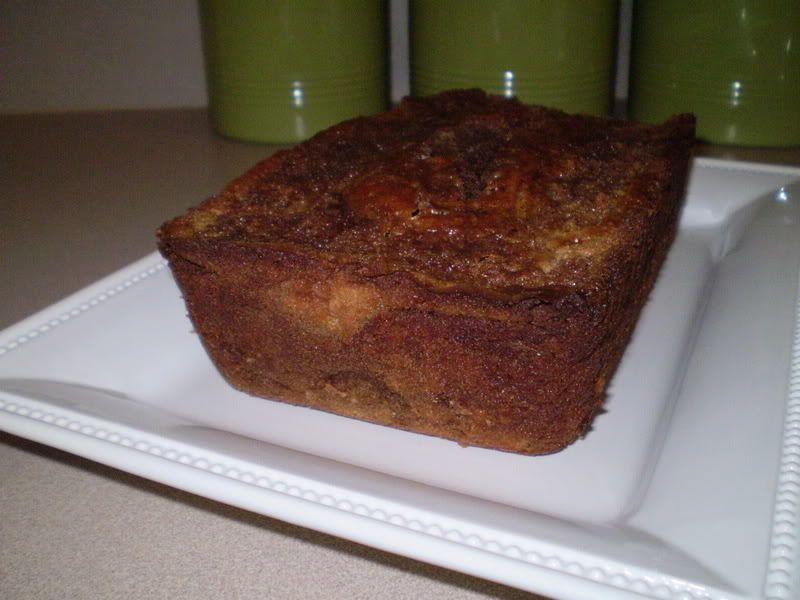
TWD: Black and more black Banana Loaf


It's been a busy couple of weeks and I'm just now getting around to posting my last 2 TWD's. Please forgive me, I'm a slacker and my mom was visiting, and well, I was lazy too.

I made the Black and White Banana Loaf (selected by Ashley of A Year in the Kitchen, one of my favorite food blogs) a couple weekends ago and as you can see from the pic, it wasn't so much Black AND White, as it was Black and then a little more Black! Apparently I got a little over zealous with the swirling part and I mixed the two batters a little too much. I intended to make this again and not swirl it so much, but time got away from me and all I have is this one sad little picture of a black banana loaf.

Many TWD's reported problems of the batter being very runny and thin, and I have to agree, the batter was extremely runny and when I was attempting to create the swirl, it just sort of mixed all together. Despite not looking very pretty, it tasted great and the chocolate and banana combo was really nice. I do want to make this again, 1. so I can redeem myself and prove that I can marble without overmixing, and 2. so I can eat more of it since it was so tasty.

Even with runny batter and not so great marbling, this was still a great recipe. I have yet to make anything from Dorie's book that wasn't great!! Buy the book if you haven't already, trust me, it's spectacular.

Tuesday, July 29, 2008

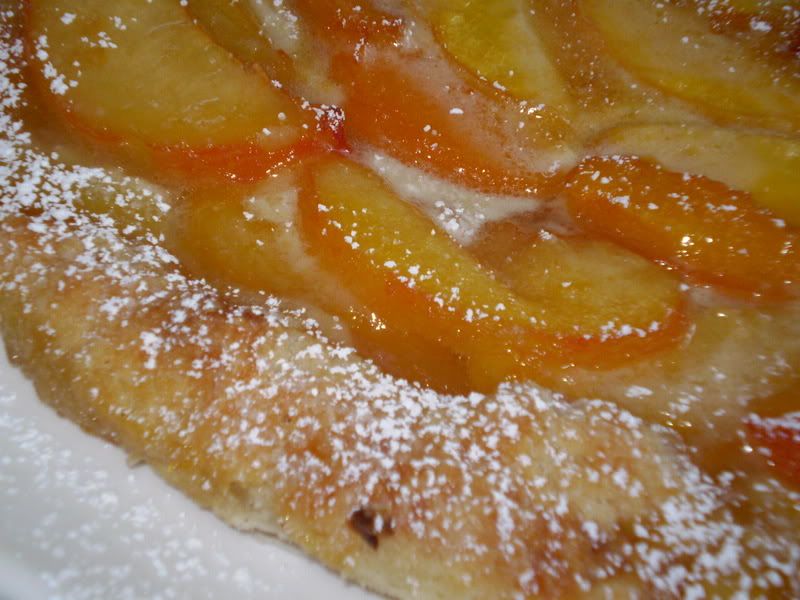
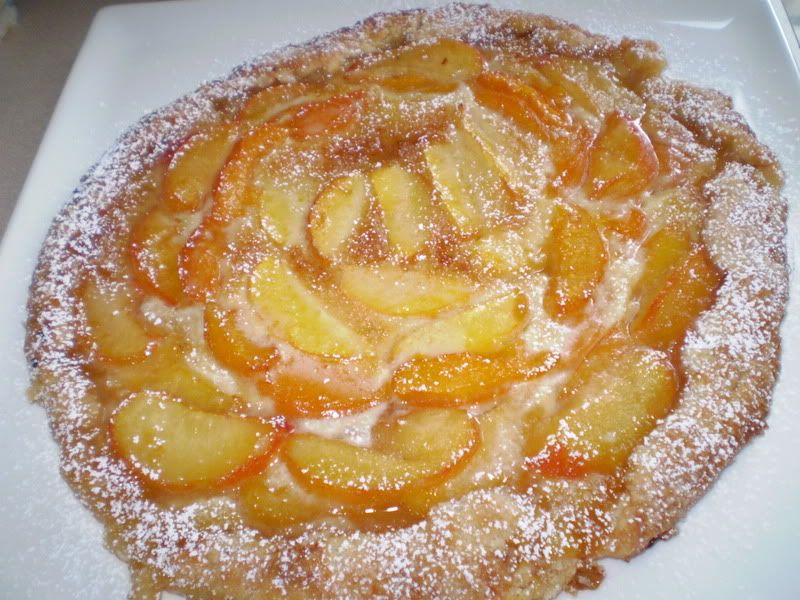
TWD: Summer Fruit Galette


This week's TWD recipe was selected by Michelle in Colorado Springs.

I must admit, when I saw that this week's recipe was yet another fruit dessert, I wasn't very excited. I'm more of a cookie, cake, chocolate chocolate chocolate kind of girl. But then I remembered how amazing the Double Crusted Blueberry Pie was, and how delicious Dorie's pie crust is, and my mouth started watering a bit.

For this dessert, I ended up using peaches, apricots and plums as part of Dorie's recipe called for; I skipped the nectarines and rhubarb. My original idea for this recipe was to make it tropical and use pineapple, mango, papaya and kiwi. I wasn't sure how kiwi would bake though and my husband said he doesn't like tropical fruits, so that plan got tossed out the window. I might try it sometime though because it sounds really good in theory, so if you've ever baked with kiwi before and it worked out well, please leave me a comment and let me know.

I used peach preserves on the bottom of the crust before adding the fruit. Dorie suggests ginger preserves, but I already had peach on hand and just used that. I also completely forgot to add the graham cracker crumbs on the bottom, which I think definitely would have helped since my fruit did seem particularly juicy. Dorie says that adding graham cracker crumbs helps to soak up some of the juice, and that's a tip that I am going to try to remember next time.

But I was so happy with how the Galette turned out, it was lip-smacking good with a dollop of whipped cream on top. We had dinner with some friends on Saturday night and I took this over for dessert and everyone raved about it. I will definitely make this recipe again.

My husband continually called my beautiful Galette a "Fruit Pizza" so I had to pinch him a few times and correct his error. Then he decided to call it a "gillette" as in the razor blades. Men!

Tuesday, July 22, 2008

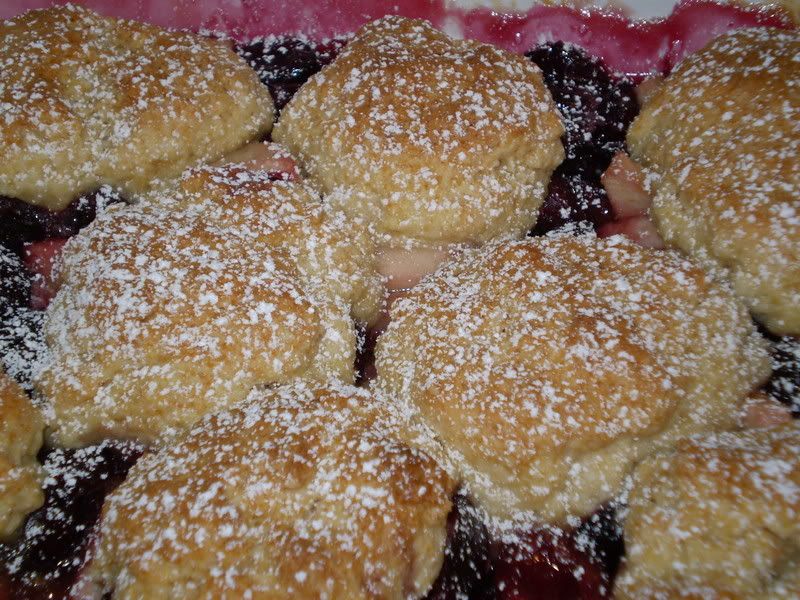
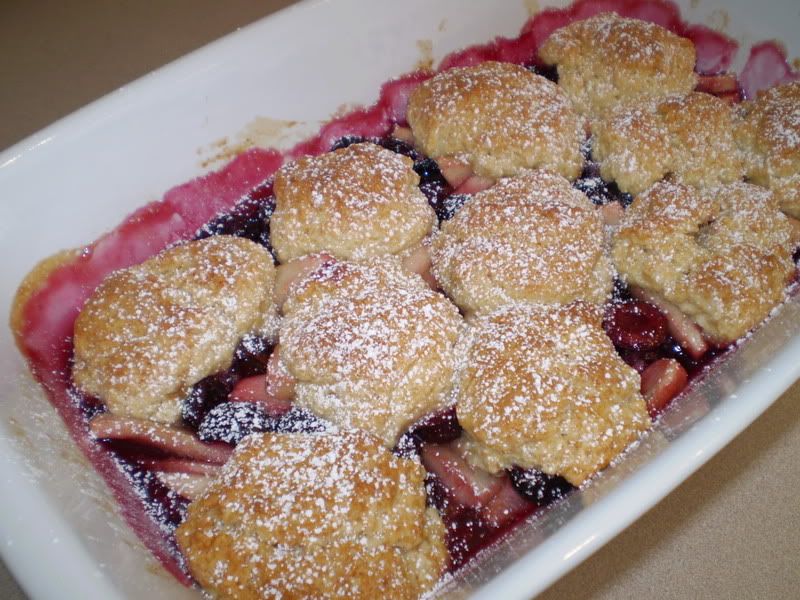
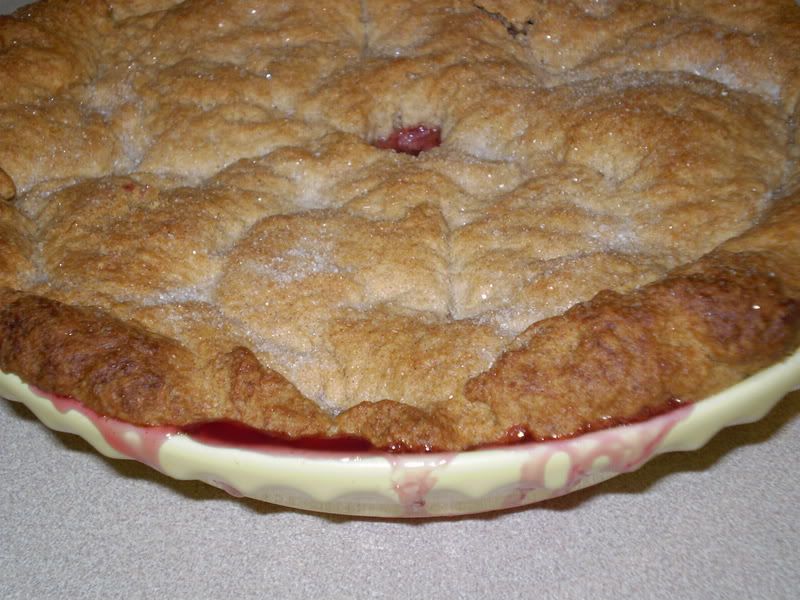
TWD: Cherry Rhubarb Cobbler


This week's TWD recipe was selected by Amanda from Like Spinkles on a Cupcake. You can find the recipe here on her blog.

I'm not going to lie...I hate rhubarb. My grandmother always used to make strawberry rhubarb pies and when we were kids she would tell us it was just strawberry pie. Then you'd bite into a big chunk of rhubarb and...blech!! Thanks Grannie!

So there I stood in the grocery store with rhubarb in hand ready to face my fears and just make this cobbler, rhubarb and all. I had secretly hoped that the grocery store wouldn't even have rhubarb in stock because it's close to being out of season in this area...but darn them, there it was! So step by step through the produce section I kept saying to myself...you can do it, you can do it...but that little girl inside who always spit out the rhubarb chunks from Grannie's "Strawberry Pie" said...hold up! There's no way I'm eating rhubarb!

So I put the rhubarb back and grabbed some granny smith apples. And the little girl inside smiled and said...suck it, rhubarb! :)


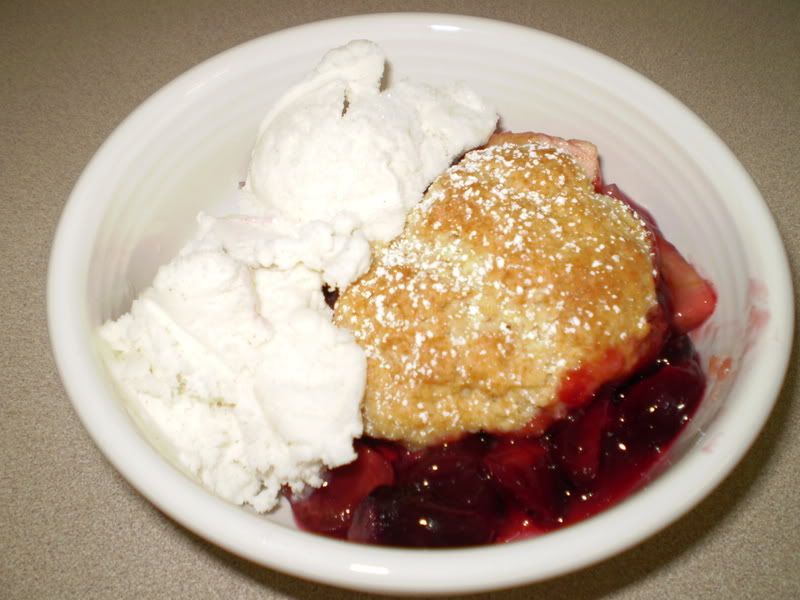
This cobbler recipe was very good. I thought the addition of the ground ginger gave it a very fresh taste and the topping was very tender and soft inside and crumbly and crunchy on the outside. My husband even enjoyed it quite a bit, and he's not much of a fruit fan. With a couple scoops of vanilla bean ice cream, this was a perfect hot summer evening dessert.

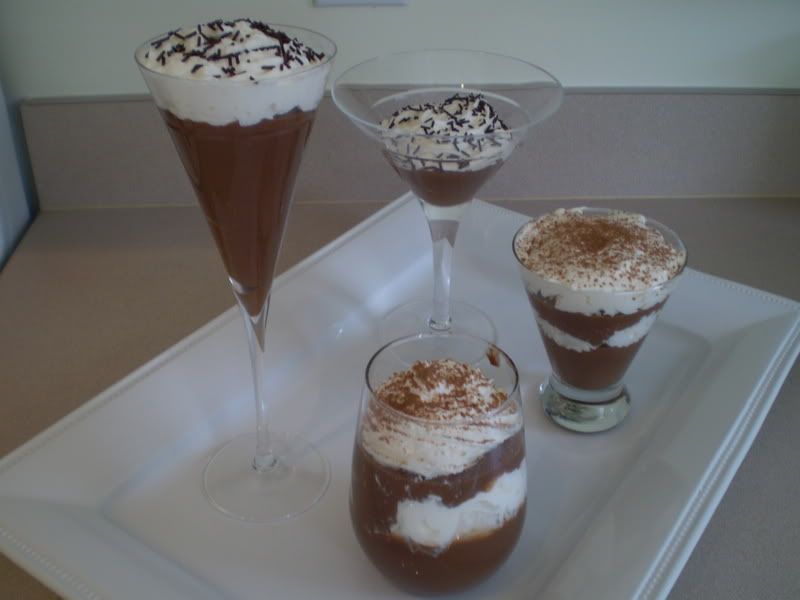
TWD: Chocolate Pudding


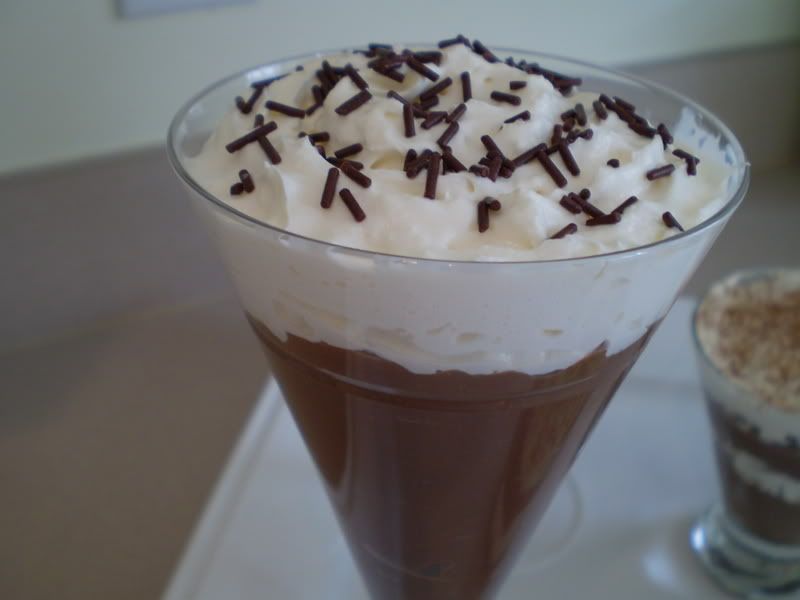
This post is a week late for personal reasons, but I LOVE chocolate pudding so there was no way I was letting this recipe pass me by. Chocolate pudding with whipped cream is my absolute favorite dessert...I'm just a simple girl! ;)

This TWD recipe was selected by Melissa from Its Melissas Kitchen for last week, July 15th. You can find the recipe here on Melissa's blog.

The pudding came together quickly, however, I think perhaps I needed to cook it just a bit longer for it to thicken up a little more, I found that it was just slightly thin after being in the fridge for 4 hours or so. Despite this one small problem, the pudding was absolutely DELICIOUS! It was the best chocolate pudding I have ever tasted and will certainly become a staple recipe in my kitchen.


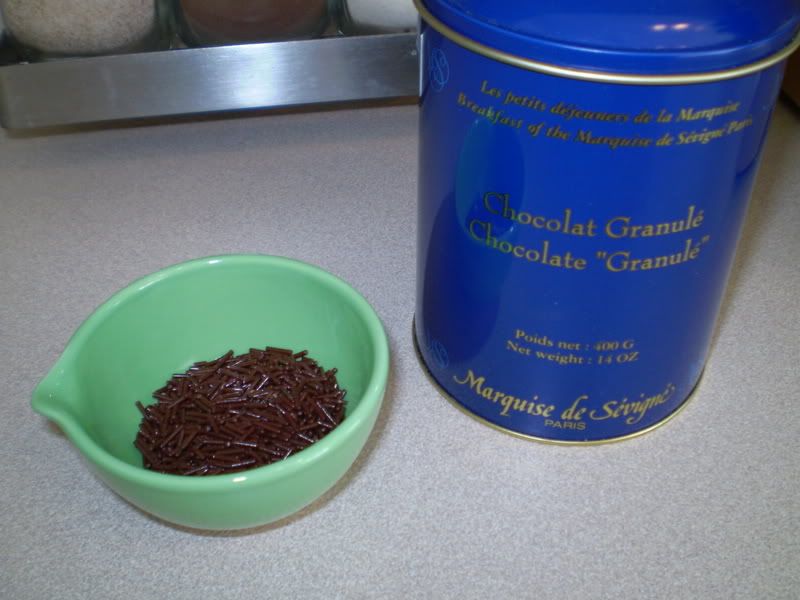
Instead of using the chocolate bar I purchased at the grocery store for this recipe, I decided to use these chocolate granules that some friends gave to my husband and I. Our friends went on a trip to Paris several months ago and brought us back some treats. These chocolate granules (they look like sprinkles or ice cream jimmies) are used to make hot chocolate, so I just melted them down (with a little bit of the milk from the recipe) and the flavor was fantastic. The sad thing is, I used all of the granules I had left for this recipe, so I think my husband and I will have to take a little trip to Paris to buy some more! Yeah, I don't think he is going to fall for that either.


Aside from the Perfect Party Cake which is just in a league of its own, I think this is my favorite Dorie recipe so far. Yes, it's THAT good!

Tuesday, July 8, 2008

TWD: Double Crusted Blueberry Pie


This week's TWD recipe was chosen by Amy of South in Your Mouth. You can find the full recipe on Amy's blog here.

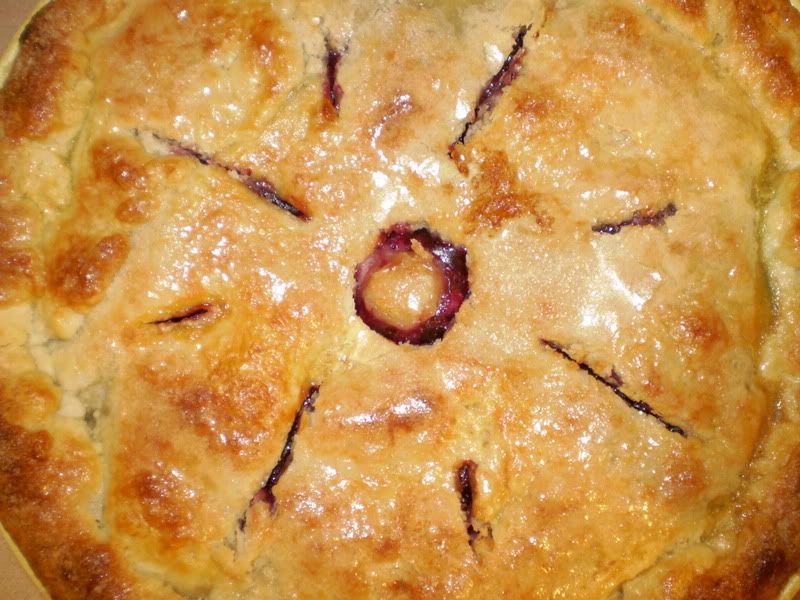
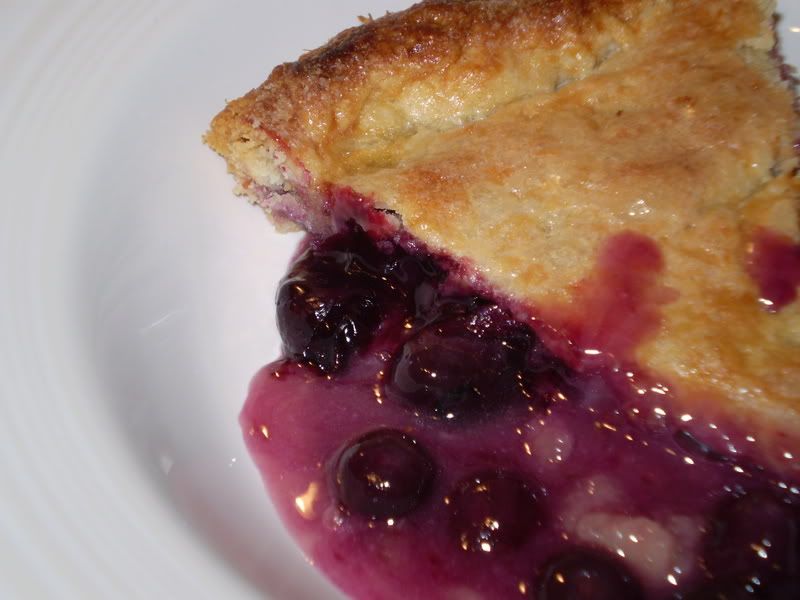
One word for this Double Crusted Blueberry Pie.....YUM! It is absolutely delicious. I was a little worried because other than the occasional blueberry muffin, I'm not much of a blueberry fan, so making and eating a pie made entirely of blueberries had me a little scared. But the filling for this pie had just the right amount of sweetness and tartness. The crust came together easily, despite the fact that I apparently do not own a rolling pin, pastry cutter or food processor large enough to accomodate this much dough. I improvised and used a large whisk to cut the butter and shortening into the flour, and a drinking glass to roll out the dough. Even these kitchen conundrums couldn't keep me from making this pie.

The crust was very flaky on top and soft throughout. I will definite use this crust recipe for other pies, however, I did think it was just a tad salty, so I will cut the amount of salt a little next time. I'm already thinking of other fruits I could use to make another pie, but blueberry was a nice treat.

Thursday, July 3, 2008

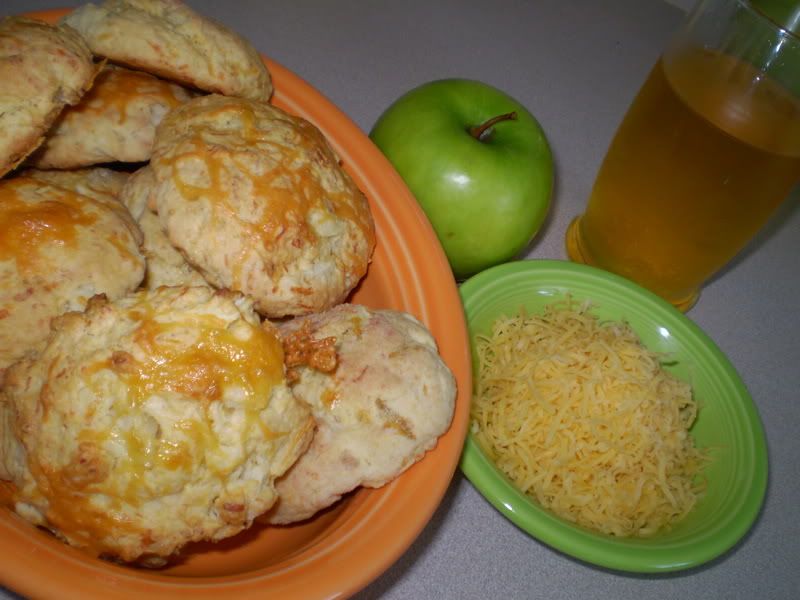
TWD: Apple Cheddar Scones


Two days late, two dollars short! Sorry this post is so late. Typically TWD posts are done on Tuesdays (hence the T part of TWD), but it's been a busy week of traveling, cleaning and getting ready for house guests this weekend. Anyway, here are the Apple Cheddar Scones, which were chosen by Karina of The Floured Apron. You can find the rull recipe on Karina's blog here.

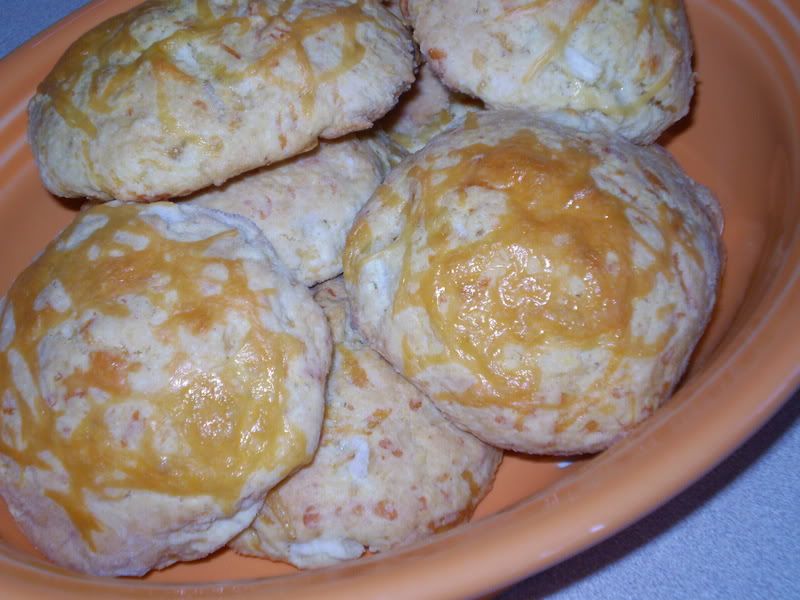
I thought these scones were very good. I used fresh apples instead of dried and didn't have a problem at all with the scones being too moist or mushy because of the fresh apples. The flavor was very mild in my opinion and if I were to make them again, I would maybe add a little more cheese, or some extra salt to bring out the flavors. I actually think these would be really great with a little garlic salt thrown in so you have a sweet and savory combination (and because garlic makes everything better in my world).

The only problem I had with this recipe is that when Dorie says it's a sticky dough, she means it's a STICKY dough. I ended up adding a little extra flour when trying to shape the dough in order to cut it into equal pieces and it was still so sticky I just grabbed a spoon and plopped it by the spoonful onto the baking sheet. I also sprinkled a little extra cheese on top of the scones just before baking.


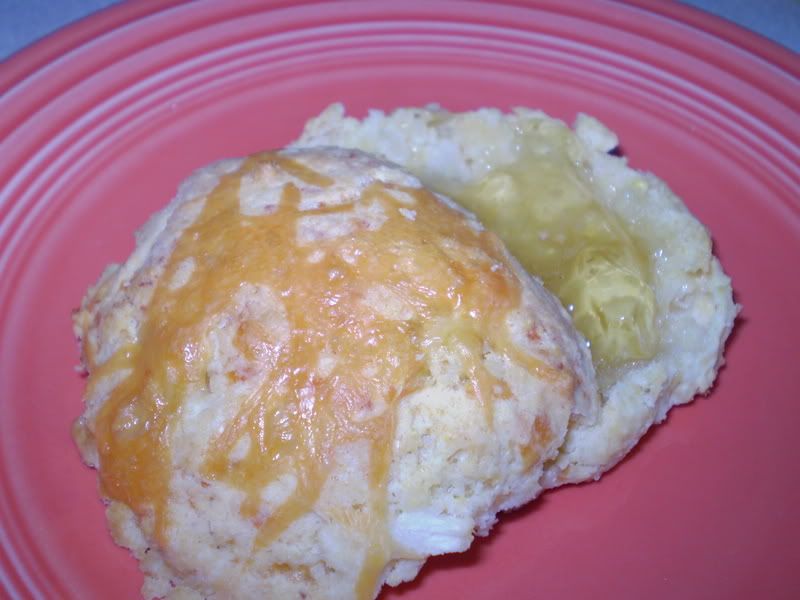
I served these with a little apple jelly and my husband gobbled them up. This is a great base recipe however, and I think I will experiment with some different flavor combinations and add ins to create some more yummy scones.

Tuesday, June 24, 2008

TWD: Mixed Berry Cobbler


This week's TWD, Mixed Berry Cobbler, was chosen by Beth of Our Sweet Life. Beth has the recipe posted here on her blog.

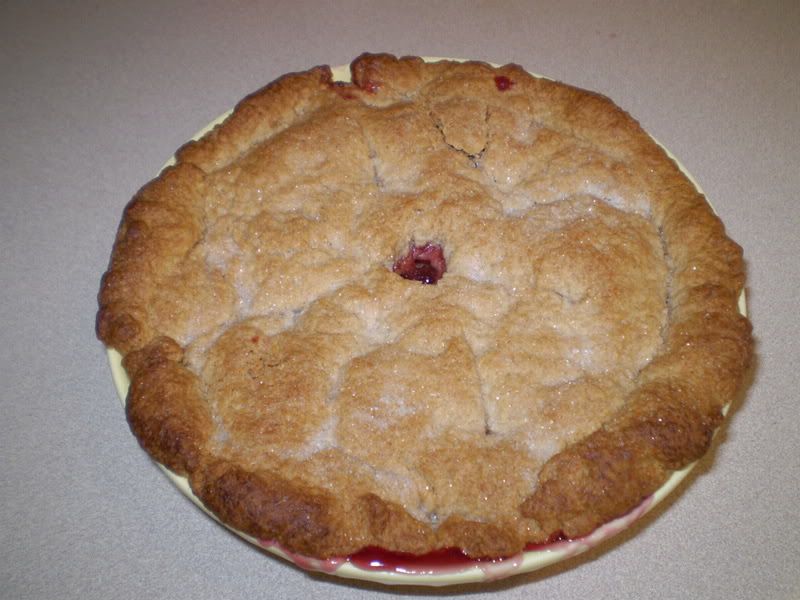
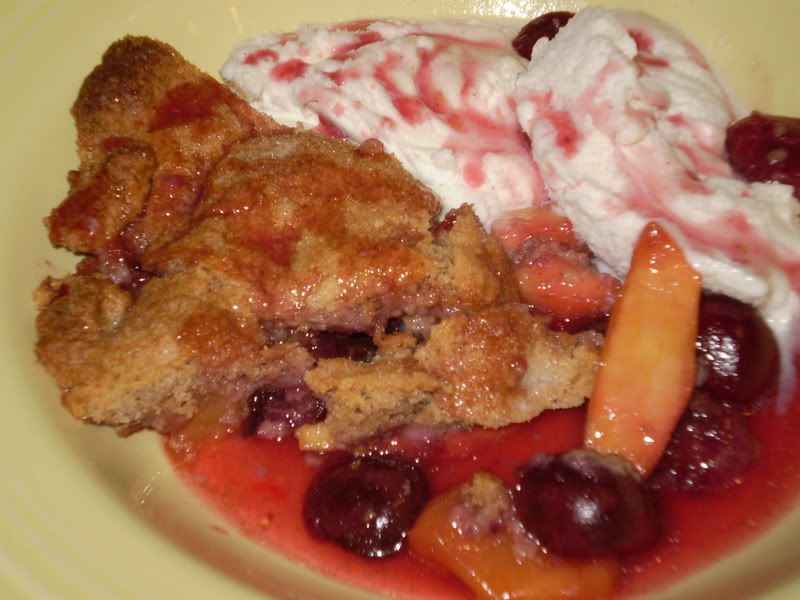
The recipe looked great as is with the mixed berries, but when I went to the store for the ingredients, they had Bing Cherries on sale and they looked so wonderful, I just had to buy them. I thought a great combo would be peaches and cherries, so that's what I put in the cobbler and the flavors were very nice and summery.
Several TWD'ers posted about the dough topping being a little bland, so I decided to add about a teaspoon of cinnamon to the mix and sprinkled a little extra sugar on top right before baking. I thought the dough was fantastic this way. It was a cross between a pie crust and a crumbly crisp sort of topping I thought. I really liked it and will probably use it for other recipes as well.
I cut the recipe in half (if you look at my post below, Peanut Butter Torte, you'll know why! I had way too many sweet things in the house this past weekend!!) But even cutting the recipe in half, I still used an approximately 7 inch pie baker and it was a nice size.
My only real problem with this recipe was that the peaches were a little under ripe, so even though my crust was getting way too dark and done in the oven, the peaches still needed a little more time to cook. And I should have added a little more cornstarch to the fruit, the juices were just a little runny when it was done and didn't thicken up much even after sitting for a bit.
Nonetheless, served with vanilla bean ice cream and a big giant spoon, this was a hit in my house!

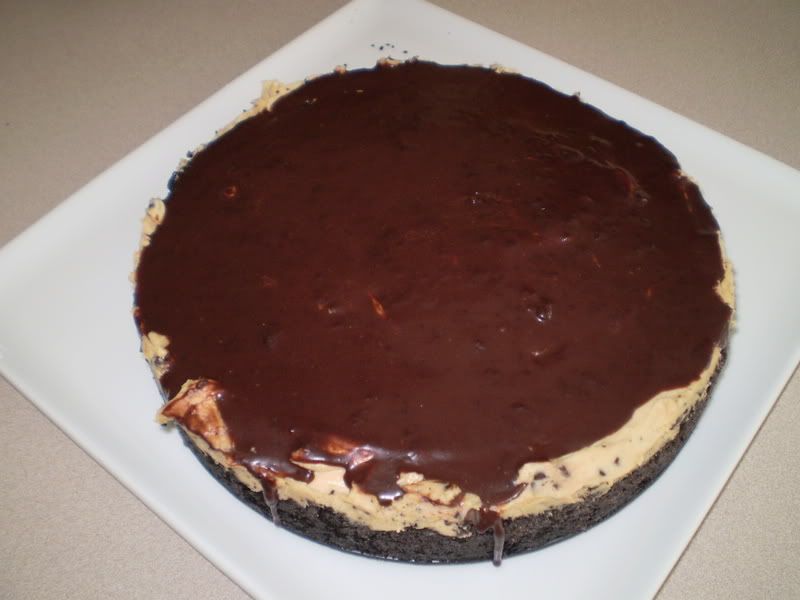
Peanut Butter Torte, a TWD rewind


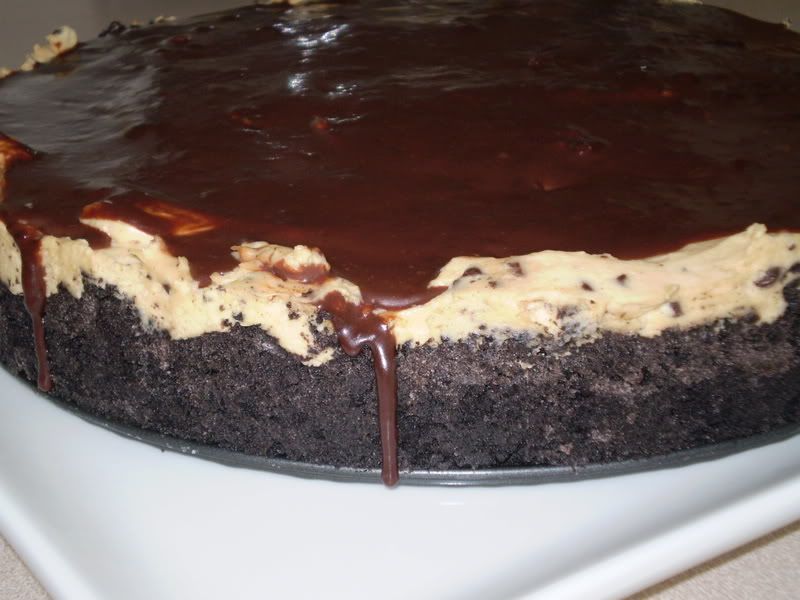
This recipe from Dorie Greenspan's book, Baking From My Home to Yours, has been calling my name everytime I walk past the kitchen for weeks now. It looked so delish I just had to find a reason to make it. I think a boring Saturday afternoon home alone while my husband played golf was the perfect reason! :)

And anyone reading this from the state of Ohio where I live....this tastes like a giant buckeye (except for the crust of course) so it would make for a great dessert at your next OSU football party.

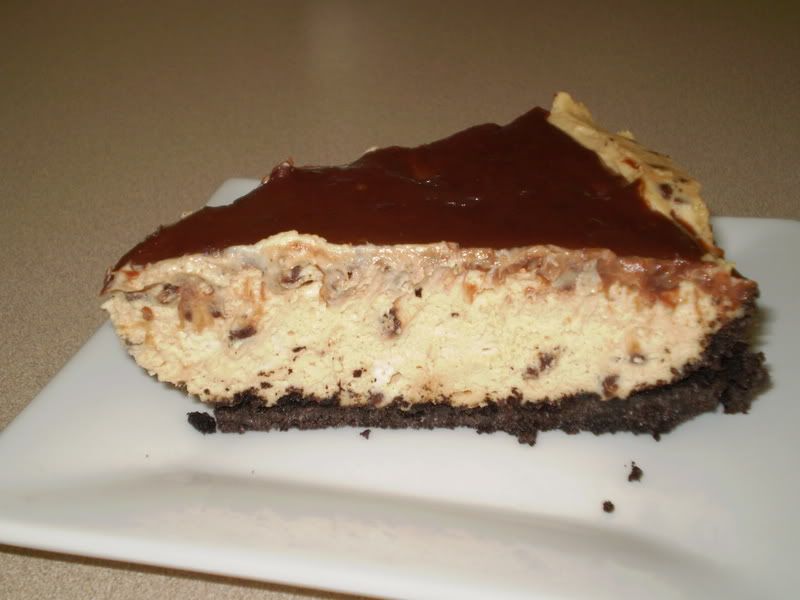
The consistency is like a very light cheesecake. The actual recipe called for adding peanuts to the mix and sprinkling some on top. I decided to leave out the peanuts, and instead I added mini chocolate chips to the mix.
This is a great recipe, and actually a pretty simple one too. The crust is just oreos and butter and only needed to bake for 10 minutes. All the rest was just whipped, mixed and tossed into the crust. It was soooo good straight out of the fridge nice and cold with a tall glass of milk. mmmm.

Tuesday, June 17, 2008

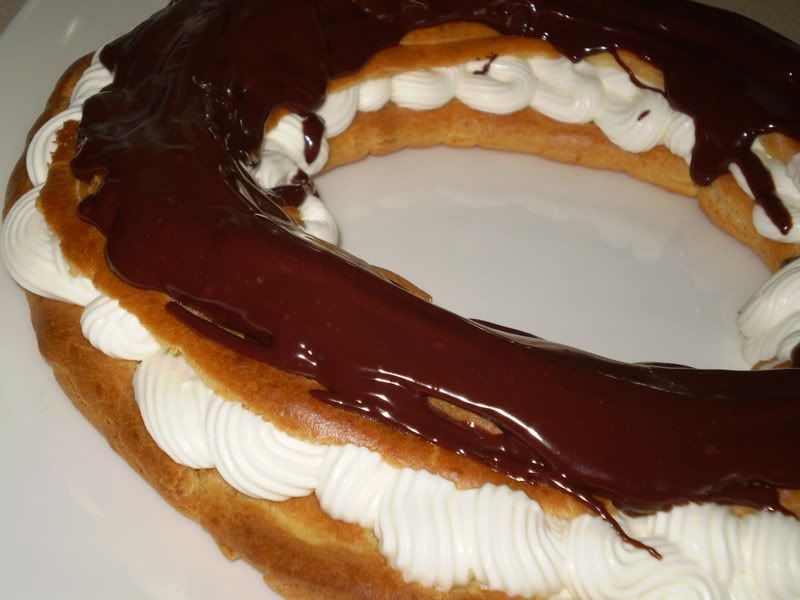
TWD: Peppermint Cream Puff Ring, minus the Peppermint


My first official TWD creation and post! This week's recipe, the Peppermint Cream Puff Ring, was chosen by Caroline of A Consuming Passion.

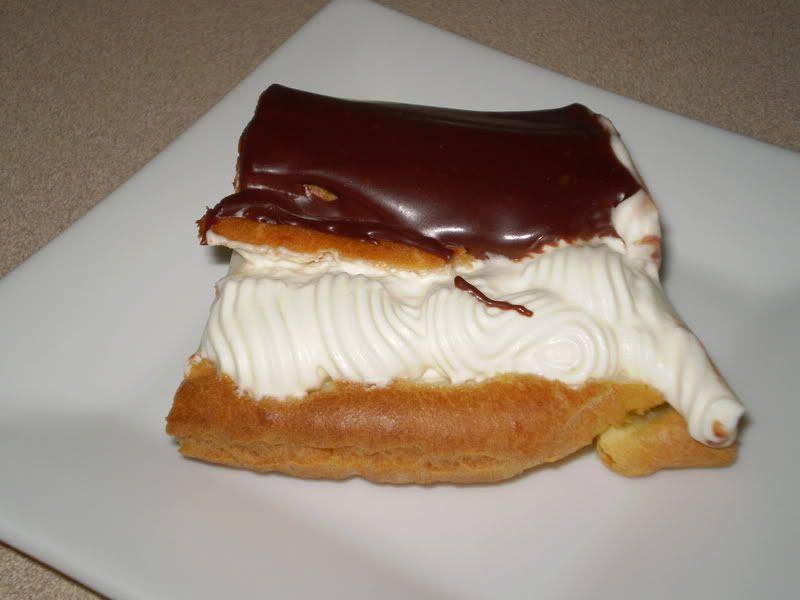
I was very excited to make this recipe, as it is something I have never done before. This type of pastry dough, called pate a choux, sounded simple enough, but I'm not going to lie...I was a bit intimidated. The recipe and Dorie's instructions were fool-proof though, and the dough came together very nicely. The only problem that I had was that I did not have quite a large enough pastry bag tip to pipe out the dough, so rather than doing 2 rings on the bottom and one on top connecting them as the recipe instructed, I made several rings on the bottom and several on top connecting to get the entire ring to the thickness I thought it needed to be. When baking, this made for quite an uneven rise, but in the end I "made it work" as Tim Gunn would say, and I was happy with the result.

I decided to skip the peppermint flavor in the cream filling because I wasn't feeling in a very pepperminty mood, but I would like to try it sometime. The cream was amazingly good. I think I will make homemade whipped cream like this for many other desserts from now on...it certainly beats the stuff in the spray can and tub! I would also like to try this recipe again with a pastry cream filling, I think it would be very good.

When making the chocolate glaze for the top of the ring, I needed to use a little more heavy cream than the recipe called for. Following the recipe, I thought that the glaze was a little too thick and syrupy, so I added in a dash more heavy cream at a time until I thought it was a nice consistency. One other small change I would make next time is to use semisweet or milk chocolate instead of bittersweet chocolate. I'm not much of a bittersweet chocolate fan, but I wanted to stick as close to the original recipe as possible, and since I had already eliminated the peppermint from the cream, I didn't want to go making any more changes to Dorie's amazing recipe.


Just another note: It was recently decided that TWD members will not be posting the full recipe each week, and only the person who chose the recipe will post the entire recipe on their blog. You can find the full recipe on Caroline's blog here.

I plan on making a few of the past TWD recipes in the coming weeks, so when you see those posts, if you would like the recipe or more information, you can email me at 2cupsofsalt@gmail.com.

Tuesday, June 10, 2008

I joined TWD!

I'm very excited to start baking along with all the great people of Tuesdays with Dorie. Check back next Tuesday for pics of the Peppermint Cream Puff Ring. And in the meantime, go buy the book that inspired this group... Baking: From My Home to Yours by Dorie Greenspan. It's a fabulous collection of every fantastic dessert and treat you will ever want to make. Yum!

Monday, June 9, 2008

Perfect it is!


I have several great food blogs bookmarked and I check them daily for new and exciting recipes to try. After a while, I kept seeing these posts in many of the blogs mostly titled TWD and followed by a great dessert that just looked too good to even eat. I investigated a little further and found out that TWD stands for Tuesdays with Dorie , and it's this wonderful group of food bloggers that pick one recipe a week from the book Baking: From My Home to Yours by Dorie Greenspan, and they update their blogs each Tuesday to showcase their latest creation.
One recipe kept catching my eye. It's called Perfect Party Cake and it looked delicious. I finally found an excuse to make it when my husband and I had a few friends over on Saturday night for a BBQ and some Rock Band and Balderdash hilarity. The unanimous verdict was that the cake was indeed, perfect!

Perfect Party Cake (Baking: From My Home to Yours by Dorie Greenspan)

For the Cake:
2¼ cups (9 ounces) cake flour
1 tablespoon baking powder
½ teaspoon salt
1¼ cups whole milk or buttermilk
4 large egg whites
1½ cups (10½ ounces) sugar
2 teaspoons grated lemon zest
1 stick (8 tablespoons or 4 ounces) unsalted butter, at room temperature
½ teaspoon pure lemon extract

For the Buttercream:
1 cup sugar
4 large egg whites
3 sticks (12 ounces) unsalted butter, at room temperature
¼ cup fresh lemon juice (from 2 large lemons)
1 teaspoon pure vanilla extract

For Finishing:
2/3 cup seedless raspberry preserves stirred vigorously or warmed gently until spreadable
About 1½ cups sweetened shredded coconut (I omitted this)

Getting Ready:
Center a rack in the oven and preheat the oven to 350 degrees F. Butter two 9 x 2 inch round cake pans and line the bottom of each pan with a round of buttered parchment or wax paper. Put the pans on a baking sheet.
To Make the Cake:
Sift together the flour, baking powder and salt.

Whisk together the milk and egg whites in a medium bowl.

Put the sugar and lemon zest in a mixer bowl or another large bowl and rub them together with your fingers until the sugar is moist and fragrant. Add the butter and working with the paddle or whisk attachment, or with a hand mixer, beat at medium speed for a full 3 minutes, until the butter and sugar are very light. Beat in the extract, then add one third of the flour mixture, still beating on medium speed. Beat in half of the milk-egg mixture, then beat in half of the remaining dry ingredients until incorporated. Add the rest of the milk and eggs beating until the batter is homogeneous, then add the last of the dry ingredients. Finally, give the batter a good 2- minute beating to ensure that it is thoroughly mixed and well aerated.

Divide the batter between the two pans and smooth the tops with a rubber spatula. Bake for 30-35 minutes, or until the cakes are well risen and springy to the touch - a thin knife inserted into the centers should come out clean. Transfer the cakes to cooling racks and cool for about 5 minutes, then run a knife around the sides of the cakes, unfold them and peel off the paper liners. Invert and cool to room temperature, right side up (the cooled cake layers can be wrapped airtight and stored at room temperature overnight or frozen for up to two months).

To Make the Buttercream:
Put the sugar and egg whites in a mixer bowl or another large heatproof bowl, fit the bowl over a plan of simmering water and whisk constantly, keeping the mixture over the heat, until it feels hot to the touch, about 3 minutes. The sugar should be dissolved, and the mixture will look like shiny marshmallow cream. Remove the bowl from the heat. Working with the whisk attachment or with a hand mixer, beat the meringue on medium speed until it is cool, about 5 minutes.

Switch to the paddle attachment if you have one, and add the butter a stick at a time, beating until smooth. Once all the butter is in, beat in the buttercream on medium-high speed until it is thick and very smooth, 6-10 minutes. During this time the buttercream may curdle or separate - just keep beating and it will come together again. On medium speed, gradually beat in the lemon juice, waiting until each addition is absorbed before adding more, and then the vanilla. You should have a shiny smooth, velvety, pristine white buttercream. Press a piece of plastic against the surface of the buttercream and set aside briefly.

To Assemble the Cake:
Using a sharp serrated knife and a gentle sawing motion, slice each layer horizontally in half. Put one layer cut side up on a cardboard cake round or a cake plate protected by strips of wax or parchment paper. Spread it with one third of the preserves. Cover the jam evenly with about one quarter of the buttercream. Top with another layer, spread with preserves and buttercream and then do the same with a third layer (you’ll have used all the jam and have buttercream leftover). Place the last layer cut side down on top of the cake and use the remaining buttercream to frost the sides and top. Press the coconut into the frosting, patting it gently all over the sides and top. (I read in someone's blog, sorry I don't remember whose, that it was easier to put the buttercream on the cake layer first and then top with the perserves. I did this and it worked out very well.)

Serving:
The cake is ready to serve as soon as it is assembled, but I think it’s best to let it sit and set for a couple of hours in a cool room - not the refrigerator. Whether you wait or slice and enjoy it immediately, the cake should be served at room temperature; it loses all its subtlety when it’s cold. Depending on your audience you can serve the cake with just about anything from milk to sweet or bubbly wine.